Yocan - STIX Coil & Reservoir (510 Connector), 5 pack, OEM Packaging
Brand : Yocan
STIX Coil & Reservoir by Yocan
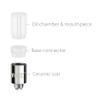
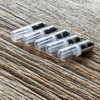
This 5-pack of the STIX Coil & Reservoir Tank by Yocan is a simple, low power liquid or oil reservoir and mouthpiece, with a 510 base connector, and an integrated ceramic coil for the cleanest taste.
OEM (simple bag) packaging, with no markings on the package. These tanks were extracted from full STIX batteries that were purchased in error as a full kit. They are all brand new.
A simple and low cost solution for disposable liquid/oil consumption, capable of handling thick viscosity liquids or oils.
- Includes oil/liquid chamber
- Includes ceramic coil
- Durable materials
- High-quality ceramic wicking material
- Threaded design
- Transparent chamber
About Yocan Stix Coil and Reservoir
This device was intended for aromatherapy use only.
The Yocan Stix Coil and Reservoir kit is a replacement component for the Yocan Stix Vaporizer. It includes all the parts you need to replace the most important parts of the Yocan Stix Vaporizer, but can also fit on most other devices that have a standard 510 connector that allows air to enter through the connector. Included in the pack is the Yocan Stix Oil Chamber as well as the Yocan Stix Ceramic Coil. The Yocan Stix Coil and Reservoir addresses two of the most utilized parts of the Yocan Stix Vaporizer. The coil being the heating element is one of the most used components since it takes the most stress by receiving and conducting heat towards the liquefied material in order to vaporize it. This inert catalyst can see extensive use but must be replaced from time to time. The Yocan Stix Oil Chamber or Reservoir, on the other hand, carries and holds the materials which is why it gets dirty from time to time. Also, it can acquire material buildup overtime which is why it’s important to replace it every once in a while.
Easier and More Convenient
When the time comes to replace these components, it’s more convenient if you have all the parts you need. That is why it is recommended that consumers buy this complete pack. It's also a good idea to keep this replacement kit in your daily vape carry so you’re always ready whenever you need to replace any of these parts on-the-go. You’ll be able to replace broken oil chambers as well as replace busted coils allowing you to easily maintain your vaporizer and allow it to work in good condition.
All Yocan Stix Vaporizer parts and components are made using high-quality materials. Make sure to grab authentic and original replacement pieces.
WHAT’S IN THE PACKAGE
- Yocan Stix Coil and Reservoir (5 pack)
Yocan Stix Coil and Reservoir Manual
Loading the Yocan Stix Coil and Reservoir:
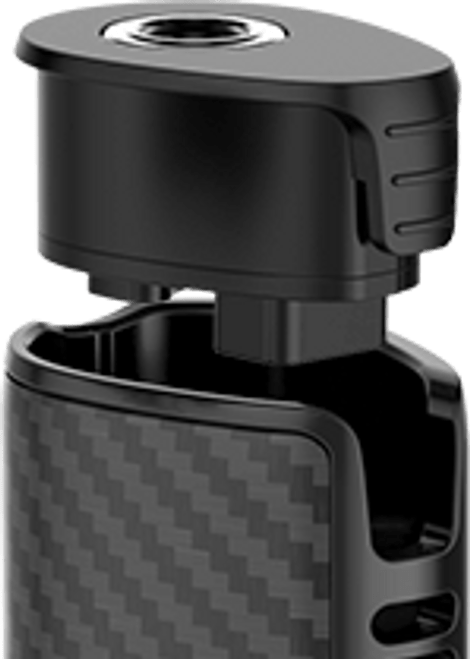
- Remove the Yocan Stix Coil and Reservoir from your Battery by twisting the Yocan Stix Coil and Reservoir counterclockwise.
- Separate the reservoir from the coil by twisting it counterclockwise.
- Fill the reservoir with your select oils using a dropper or a unicorn bottle. Keep the reservoir upside down.
- Turn the coil upside down and marry it onto the reservoir.
Note: The Yocan Stix Coil and Reservoir can be used with a threaded cap which allows you to seal the oils inside it. This needs to be removed prior to connecting the Yocan Stix Coil and Reservoir onto the Yocan Stix Battery.
Replacing the Yocan Stix Coil and Reservoir:
- Remove the Yocan Stix Coil and Reservoir from the battery by twisting it counterclockwise.
- Use a cotton swab to clean the metal contacts on the battery.
- Get your replacement Yocan Stix Coil and Reservoir and connect it to the battery by twisting it clockwise.
Note: The Yocan Stix Coil and Reservoir uses a 510-threaded connection which connects the actual coil into the battery. Avoid overtightening the coils as and stop twisting clockwise as soon as you feel any resistance.
Storing the Yocan Stix Coil and Reservoir with Oils.
- Take the Yocan Stix Coil and Reservoir.
- Unscrew the coil and the reservoir.
- Take the reservoir and fill it with oil.
- Take the base connector to seal the reservoir.
Note: Make sure to securely seal the reservoir to prevent the oils from spilling.


